

 fr
fr en
en de
de Shopping Cart
- NextModelKit
- Scale Modeling Guides
- 0 likes
- 110 views
- 0 comments
- photo etched, resin scale model, photo etch bending, super glue, detailing parts, scale model accessories
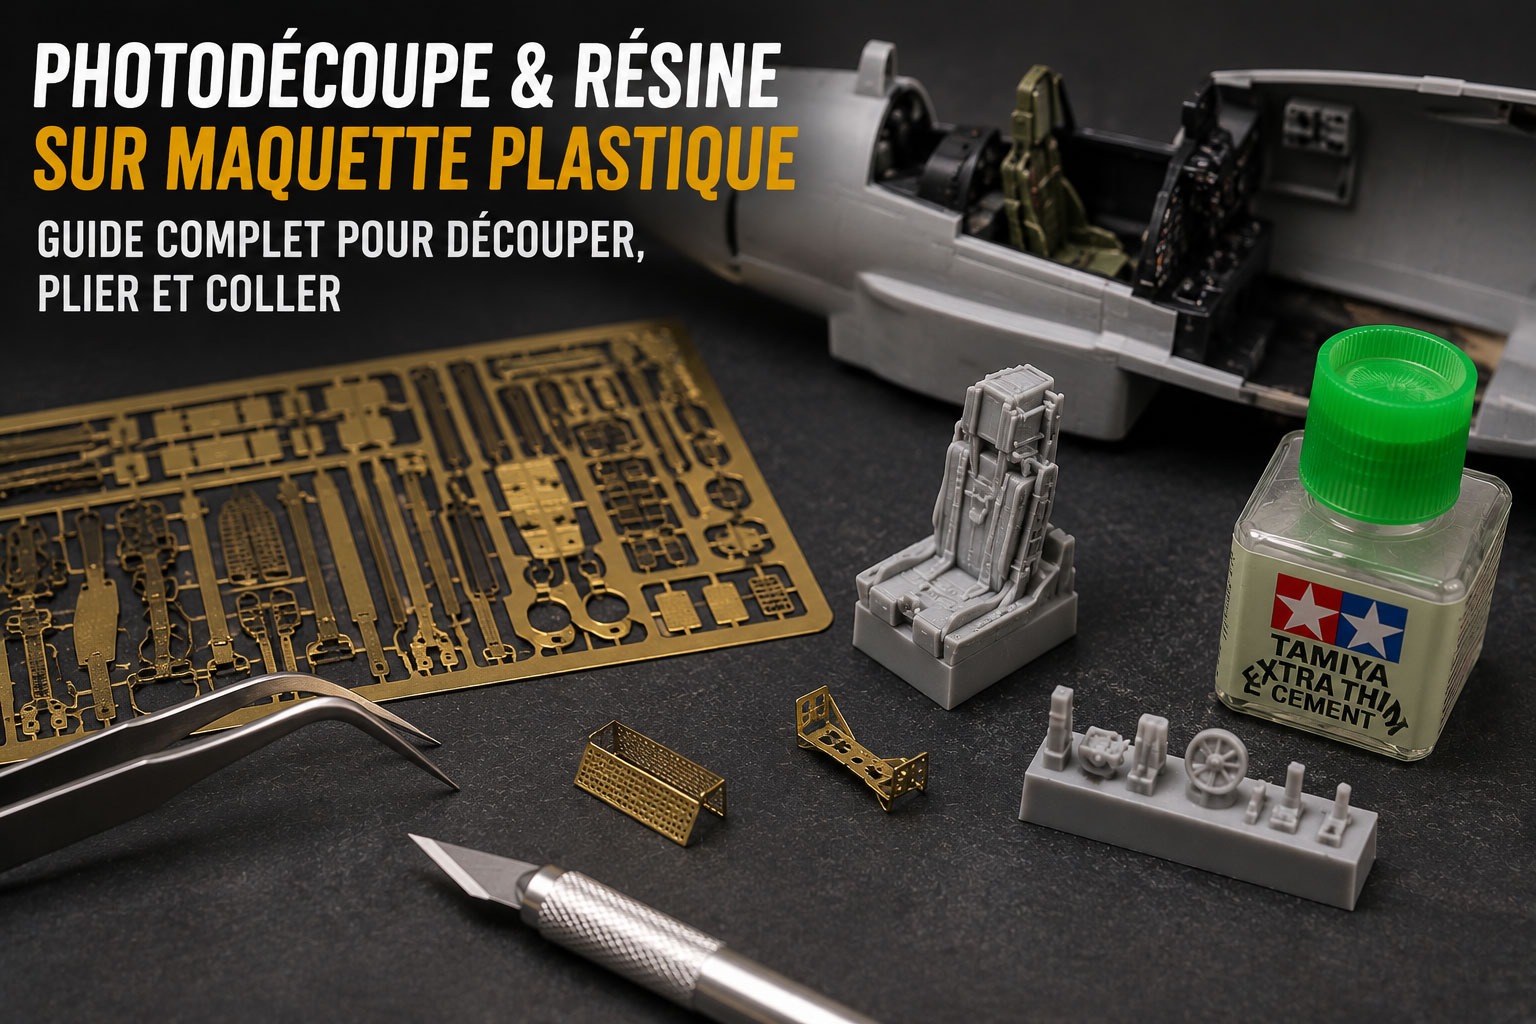
Adding photo-etched (PE) parts and resin aftermarket accessories is the single most effective way to take a standard plastic scale model to competition-level detail. While injection-molded plastic has physical limits regarding thickness and fineness, etched brass and stainless steel provide cockpit seatbelts, tank engine grilles, and ship railings with sub-millimeter sharpness. On their end, cast resin parts deliver unmatched three-dimensional depth (radial engines, complete cockpits, weighted sagged tires).
However, working with both materials demands dedicated tools, specialized adhesives, and methodical bench practices. Whether you are detailing plastic aircraft model kits or military tanks and vehicles, follow our step-by-step guide to master cutting, bending, and assembling photo-etch and resin parts with confidence.
1. Essential Tools for Photo-Etch and Resin
To manipulate photo-etched brass and delicate resin castings without bending, breaking, or launching them across the room, equip your workbench with dedicated scale modeling tools:
- Precision hobby knife with fresh No. 11 blades: ensures clean shearing cuts at the sprue gate.
- Hard cutting surface: use a small ceramic tile or piece of plate glass (soft self-healing cutting mats deform under blade pressure, warping the metal part).
- Photo-etch bending tool (or dedicated PE folding pliers): essential for crisp, straight, and sharp folds on long parts (fenders, stowage boxes, flaps).
- Precision tweezers: one pair of ultra-fine curved tweezers and one pair of sturdy cross-locking tweezers.
- Razor saw / photo-etch saw blade: cleanly separates resin casting blocks without snapping delicate details.
- Dust mask / respirator: indispensable whenever wet-sanding or sawing polyurethane resin.
For a complete workbench setup, check out our dedicated guide on how to organize a clean and ergonomic scale modeling workshop and our tips on getting started in scale modeling and choosing your first products.
2. How to Cut and Clean Photo-Etched Parts
The Masking Tape Safety Trick
The biggest risk when cutting tiny brass parts from their fret is the "catapult effect"—the blade snaps through the gate and the tiny piece pings away into oblivion. To prevent this:
- Apply a strip of masking tape or clear cellophane tape to the back of the photo-etch fret.
- Place the fret flat on your glass or tile surface.
- Press firmly straight down with your blade right against the part (roll the blade gently rather than sawing).
- Peel the tape away: the tiny part remains safely stuck to the adhesive.
Cleaning Gate Attachment Nubs
A microscopic metal burr always remains at the cut point. Hold the part firmly in flat-nose pliers or reverse-action tweezers and smooth the nub away using a fine diamond file or precision sanding stick from our cutting and sanding tools range.
3. The Art of Bending: Crisp Angles and Curved Shapes
Annealing (Softening Brass for Complex Shapes)
When forming curved exhaust shrouds, rounded fenders, or draped seatbelts, work-hardened brass can be stiff and prone to cracking. To soften it:
- Hold the brass piece in tweezers and pass it through a lighter flame for 2 to 3 seconds until it glows dull red.
- Let it cool in ambient air or quench it in water.
- The annealed metal becomes remarkably ductile and pliable without losing structural integrity.
Standard Folding Technique
For a crisp 90-degree fold:
- Align the etched fold groove along the edge of your bending tool or a stiff steel ruler.
- Slide a razor blade or flat folding spade underneath the protruding flap.
- Lift smoothly in one continuous upward motion to the desired angle.
4. Choosing the Right Glue for PE and Resin
Golden Rule: standard liquid polystyrene cement will never bond metal or resin, as it works by chemically melting plastic.
To securely bond your resin and photo-etched kits onto plastic model kits, choose from appropriate hobby adhesives:
| Adhesive Type | Best Use Case | Key Advantage |
|---|---|---|
| Thin Cyanoacrylate (Liquid CA / Super Glue) | Pre-positioned small photo-etch details | Wicks into seams instantly by capillary action |
| Medium / Gel Cyanoacrylate | Resin cockpits, engines, parts needing alignment | Offers 5 to 10 seconds of working adjustment time |
| Acrylic / PVA Glue (Ultra Glue type) | Instrument panel lenses, clear canopies, dials | Dries crystal clear, zero fogging or frosting |
| 5-Minute 2-Part Epoxy | Large structural resin conversions and hulls | Maximum bond strength, fills gaps without shrinking |
For an in-depth breakdown of adhesives, read our complete guide on the best scale model glues: polystyrene, cyanoacrylate, and resin. If you are starting a new build, also check our guide on how to choose a model kit by skill level, scale and budget.
5. Targeted Super-Detailing: Cockpits, AFVs, and Figures
Depending on your build subject, aftermarket PE and resin upgrades focus on key focal points:
- Aircraft: our aircraft resin and photo-etch detailing sets replace soft instrument panels, add hollowed engine exhausts, and supply realistic pre-painted seatbelts.
- Armored fighting vehicles: AFV super-detailing accessories provide see-through engine intake meshes, copper tow cables, and refined hatch latches.
- Figures and dioramas: explore resin figures and fine detailing accessories to give life and scale to your vignettes.
6. Surface Preparation, Priming, and Painting
Mandatory Resin Degreasing
Cast resin parts retain invisible oily silicone mold-release agents. Skipping this step leads directly to peeling paint and lifting masking tape:
- Soak all resin parts in warm water with a few drops of dish soap for 5 to 10 minutes.
- Gently scrub with a soft toothbrush, rinse thoroughly under clean tap water, and air dry completely.
Surface Primer: The Key to Paint Adhesion
Smooth bare brass and dense polyurethane resin have zero natural tooth for acrylic paint. Applying a dedicated surface primer is essential before any color coats.
Apply primer with spray cans or brushes and airbrushes, then choose your colors from our paints and finishing products catalogue. To get your paint mixes right, check our guide on thinners for scale model paints and our AK vs Ammo vs Vallejo paint comparison.
After your base color coats are cured, apply markings using our guide on applying decals without silvering, and finish with our full guide on scale model painting: complete method from primer to weathering.
Going Further with Advanced Weathering Effects
To bring realistic operational life to your super-detailed models with washes, drybrushing, mud textures, and rust streaks, check out the expert tutorial on scale model weathering (washes, drybrushing, chipping, and pigments) published on Next Model RC, as well as their full range of static scale models and finishing supplies.
Summary: The 5 Golden Rules
- Always cut photo-etch on a hard glass or ceramic tile with a sharp No. 11 blade.
- Use cyanoacrylate or acrylic glue—never polystyrene cement.
- Degrease all cast resin parts in warm soapy water before assembly.
- Wear a protective mask whenever dry-sanding or sawing resin.
- Always apply a quality primer coat before brush or airbrush painting.
Comments (0)